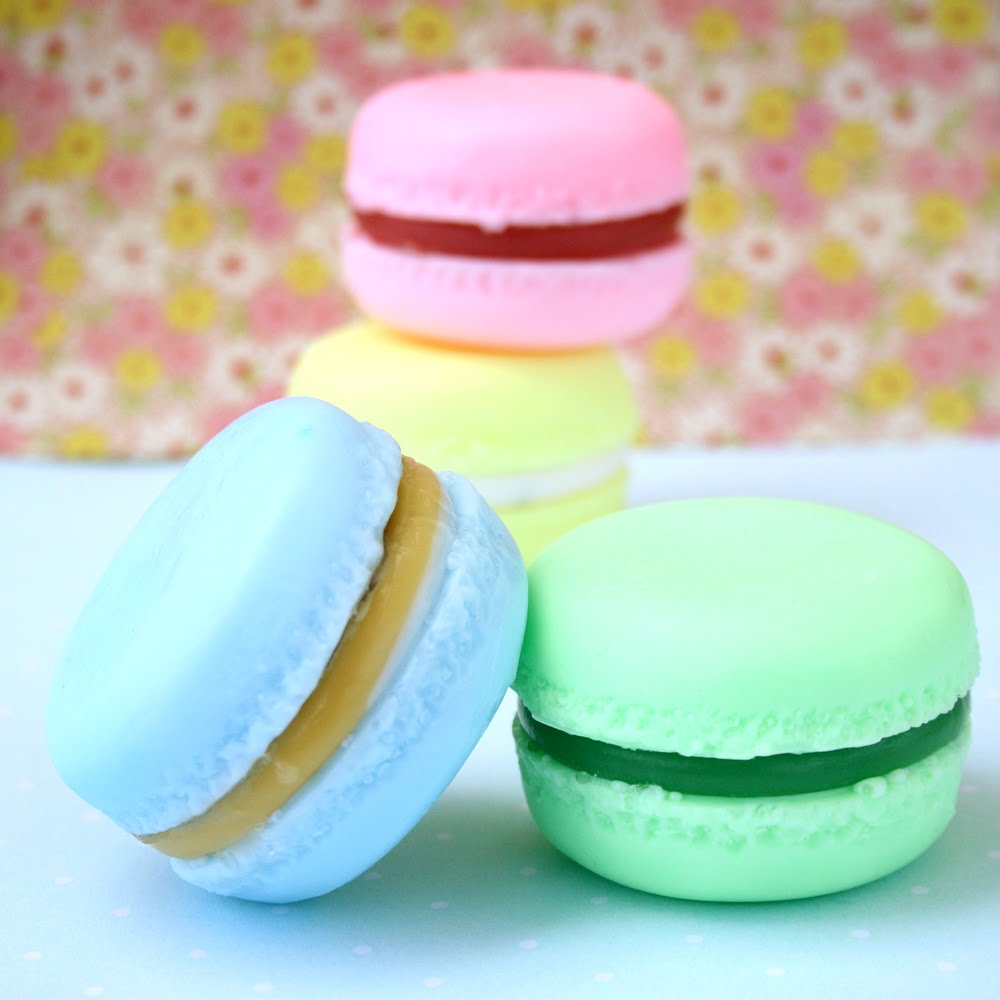
You have all seen them - those delightful pastel confections in gorgeous colors and flavors that intrigue and tempt, and are notoriously know for being difficult to make! Did I mention they are my favorite cookie? (thank you Debbie at
Soapylove) Well, I had to try making them of course! It all started when I got my daily email from Rare Bird Finds featuring "I (heart) Macarons" by Hisako Ogita. I immediately followed the link and bought the book! It is filled with beautiful pictures and easy to follow photographed instructions making the whole endeavor seem possible, so this weekend I dove in!
I pondered over the myriad color/flavor combos and came up with a simple Pistachio macaron with a Framboise buttercreme filling! All of the ingredients were easily found at Trader Joes and luckily I have a scale since I measured the ingredients by weight to be precise!
Readying the ingredients was a snap - but them came the "Macronnage", the step where perfectly stiff egg whites are mixed with the dry ingredients: Ground almonds and powdered sugar (and ground pistachios in this case). This is the make or break step, mix too much or too little and the tops of the macarons could be cracked, they could lack feet (the little ridge at the bottom which it MUST have to be classified a macaron) or could have a dull appearance instead of a shiny hard shell. The instructions said to do 15 strokes with a rubber spatula to mix the batter to the right consistency - I did exactly 15 strokes and the batter looked perfect.

When I piped the batter however it looked thin whereas in the pictures from the book the batter looked stiffer - perfectly round dots with a little height and dome to the top. I thought I was finished but I moved forward! They dryed for 45 minutes and then I popped them in the oven. The directions said a 375 degree oven for 15 minutes. I did this and the first baking sheet was overbaked (but with feet to my delight!). The second baking sheet I dropped the heat to 300 and baked for 7 minutes and they were underbaked. The third sheet was the charm at 300 degrees for 10 minutes with a rotation half way through baking! The hardest part was getting them off of the parchment paper so next time I will use silicone baking mats for sure!
Notes for next time:
1) the directions did not say this but while doign research I found that you should use dried egg whites, that is you separate the whites and let them sit out for 24-72 hours to reduce the moisture while still maintaining the protein bonds. I cheated and microwaved then for 15 seconds. Next time I will do it the right way and hopefully the batter will be a bit more stiff. (wish the book would have mentioned that)
2) use silicone baking mats.